
Starlink Gen 3 Standard 4 Tin Roof Mount GuideUpdated 24 days ago
Welcome to your new Spacetek Tin Roof Mount for Starlink Gen 3, also known as Starlink Standard 4.
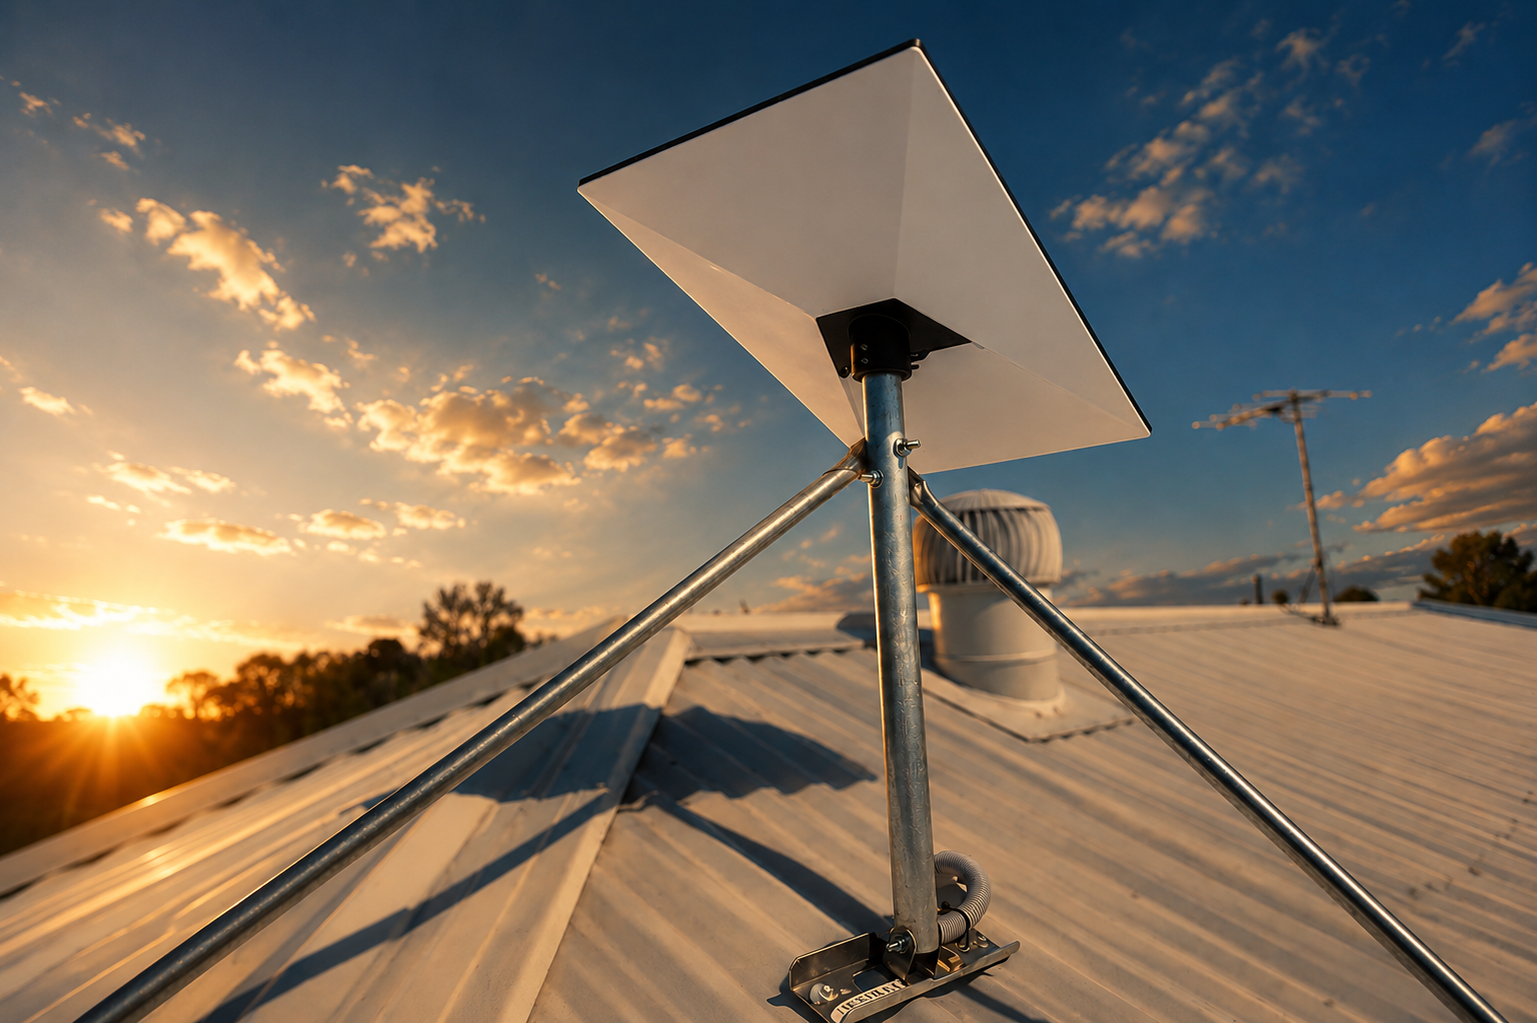
This mount provides a fixed roof mounting solution for Starlink Gen 3 installations on corrugated and metal roofs.
This guide covers what you need to know before installation, including roof mounting considerations, setup resources, installation notes and helpful FAQs.
Before You Get Started
⚠️ Installation of the Starlink Gen 3 Tin Roof Mount requires drilling into your roof and working at heights.
If you are not comfortable performing this type of installation, we strongly recommend engaging a qualified installer.
Before installation we recommend:
Confirming your mounting location
Checking that the roof area is structurally sound
Planning your cable entry point
Checking for obstructions using the Starlink App
Reviewing the installation guide and video below
Preparing all tools, parts and fasteners before starting
Taking a little extra time to plan your installation can help ensure a safer install, better Starlink performance and a clean, professional result.
Important Installation Notes
This mount is designed for permanent installation on tin, corrugated or metal roofing.
It is not suitable for ground, freestanding or portable installation.
All roof penetrations must be sealed correctly to help prevent water ingress. Use suitable silicone sealant around roof screw penetrations and cable entry points.
For exposed, elevated or high-wind sites, professional installation is strongly recommended.
What’s Included
Your kit may vary depending on the selected pole height option, but the Starlink Gen 3 Standard 4 tin roof mount kit generally includes:
Aluminium base plate
Aluminium pole mast
Two structural stay bars
Starlink Gen 3 Standard 4 aluminium pole adapter
Bolt and fastener pack
Please note: the Starlink dish is not included with this kit.
Tools Required
You will need basic installation tools, including:
Drill
Allen keys
Silicone sealant
Suitable roof fasteners if your specific roof requires alternatives
Always check that the supplied fasteners are suitable for your roof profile and installation location.
Setup Video
Watch our installation video to see what is involved in a real roof installation.
Please note: some video references may show a different Starlink model for method reference. For Starlink Gen 3 Standard 4, use the supplied Gen 3 pole adapter and follow the correct adapter assembly shown in your guide.
Download the Quick Start Guide
Download the installation guide before starting the job.
We recommend reading through the full guide before drilling, fastening or routing cables.
Installation Overview
The installation process generally follows this order:
Prepare all parts, tools and fasteners.
Remove the factory kickstand from the Starlink dish.
Select a suitable roof position with clear sky visibility.
Prepare the base plate by lifting the tabs.
Seal and secure the base plate to the roof.
Route the Starlink cable through the pole mast.
Position and loosely secure the pole mast.
Fit and secure the stay bars.
Feed the cable through the pole adapter and connect it to the Starlink dish.
Insert the pole adapter into the rear mounting interface of the Starlink dish.
Mount the dish and adapter assembly onto the pole mast.
Align the Starlink using the Starlink App.
Tighten all fixings and complete final checks before powering on.
Before powering on, check that all roof fixings, stay bars, adapter screws and cable routing are secure.
Frequently Asked Questions
Is this mount suitable for corrugated and tin roofs?
Yes. The mount is designed for fixed installation on common Australian metal roofing profiles, including corrugated and similar tin roof profiles. Always check that your roof structure and fixing points are suitable before installation.
Does installation require drilling into my roof?
Yes. This is a permanent roof-mounted installation and requires roof penetrations. All penetrations must be sealed correctly to help prevent water ingress.
Is the Starlink dish included?
No. The kit includes the mounting hardware and adapter components only. The Starlink Gen 3 Standard 4 dish is not included.
Can I install this myself?
Many customers choose to install roof mounts themselves, but this installation involves drilling into a roof and working at heights. If you are unsure, uncomfortable or installing on an exposed site, we recommend using a qualified installer.
What should I check before powering on Starlink?
Before powering on, confirm that all roof fixings are tight, all penetrations are sealed, the stay bars are secure, the adapter is properly seated, and the cable is not pinched, sharply bent or rubbing against sharp edges.
Can this mount be used as a portable or freestanding setup?
No. This mount is intended for fixed roof installation only. It is not suitable for ground, freestanding or portable use.
Need Help?
If you have any questions, we’re here to help.
Browse the Help Centre, reply to any Spacetek email or submit a support request through our Help Centre.
Thank you for choosing Spacetek.
We look forward to helping you get the most from your Starlink installation.